 |
|||
Combining Images | Photo to Canvas | Pencil Sketches
Pencil Sketches on the Web
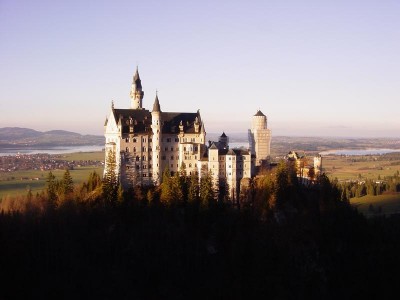
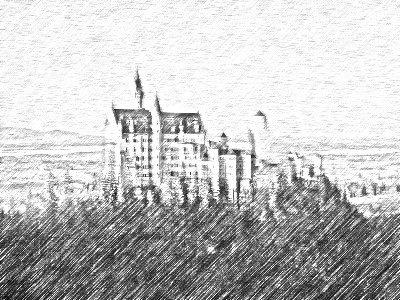
| Original picture of the castle in Munich: | Pencil sketch of the castle: |
 |
 |
I think I've been able to find the original tutorial
that showed how to use Paint Shop Pro to turn a photo into a pencil sketch
at State of Entropy. I
found a couple tutorials at various sites that gave some good advice that
I then experimented with to come up with my own form of pencil sketching.
You can find the tutorials that I viewed at:
http://www.geocities.com/hammerin_hankster/
http://www.extenuation.net/psp/joestuts/pencil.html
http://www.tutorialsbylori.com/tutorial41.html
http://www.jellygrin.com/coloredpencil.htm
Here's my recipe for Pencil Sketching:
Okay… let's see if I can remember what I did to create this one. I took my original picture and made two duplicates of the background. One I called Top Copy Bkgd and the other was Middle Copy Bkgd. I switched to the Top Copy Bkgd. Then I chose Colors… Negative Image then GreyScale then Increase Colors to 16Million. I applied a motion blur at 90degrees, 10 pixel. Apply the motion blur again at 45degrees, 15 pixels. Set the Blend mode on the layer to Dodge.
Here's where it gets confusing as I turned to the middle layer. I did some experimenting here before I got the right settings. With Middle Copy Bkgd as the active layer, choose Effect à Edge à Enhance More. That thickens the lines. Next step is to add Noise, 30% Random. The apply the Greyscale and then Increase the Colors to 16Million again. Then I could go ahead and apply another motion blur at 45 degrees, 15 pixels. Set the blend mode on the layer to Darken.
Go back to the Top Copy Bkgd layer. Apply Effects ->
Sharpen -> Sharpen… a couple of times until you get a clear enough
picture.
Site maintained by Kelly LeVan-Shultz
Http://members.bellatlantic.net/~klevan Copyright © 2002.